
If you’re a high school student in the United States preparing for college admissions, one of the most important tasks on your checklist is to register for SAT. The SAT plays a major role in college applications, scholarship opportunities, and merit-based financial aid. Although many universities have become test-optional, SAT scores still give students an edge—especially in competitive admissions.
In this comprehensive guide, you’ll learn exactly how to register for SAT online step-by-step, what documents you need, how to choose the best test date, tips for fee waivers, and how to avoid common registration mistakes. This guide is regularly updated and fully focused on the USA SAT registration process through the College Board website.
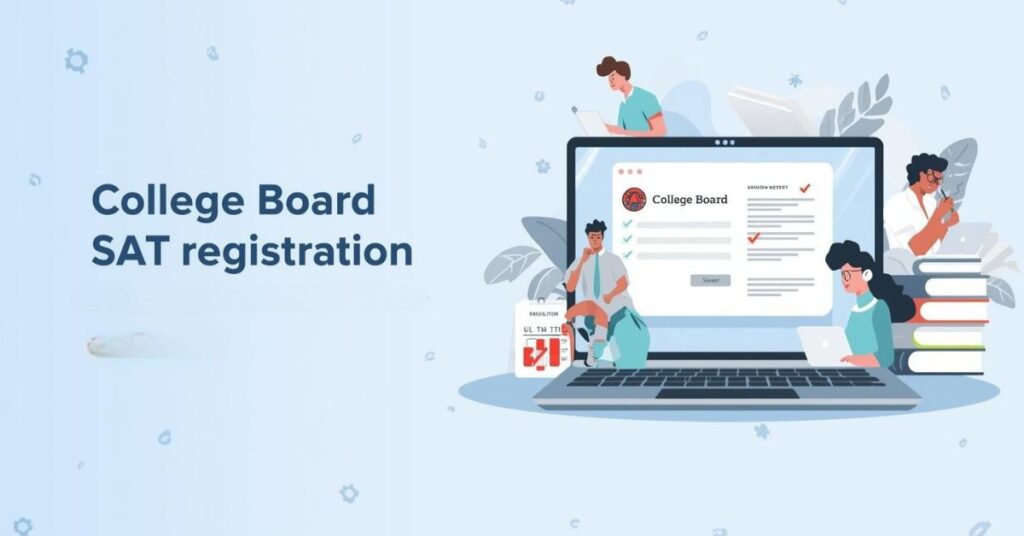
Let’s begin!
Why SAT Registration Matters
Before you register for SAT, it’s important to understand why students across the United States still take the exam:
-
Colleges may consider SAT scores for admissions, even if optional
-
SAT scores help with merit scholarships
-
Some states use SAT for school or district assessments
-
High scores can strengthen your application at selective institutions
-
International students often require SAT for US admissions
Because SAT seats can fill up quickly—especially during fall test dates—you should complete the registration process early.
Where to Register for SAT Online
There is only one official platform to register for SAT:
➡ College Board Website: https://www.collegeboard.org
All U.S. and international students use the same portal.
Beware of third-party websites claiming to register you—they are NOT authorized.
Before You Register for SAT: What You Need
To avoid delays, gather the following before you begin:
1. College Board Account
You either create a new account or use an existing one.
Don’t use a parent’s account—your personal information must match school records.
2. Valid Photo Identification
Acceptable IDs in the USA include:
-
Driver’s license
-
State ID
-
School ID
-
Passport
-
Federal or military ID
Your ID photo must:
-
Be clear and recent
-
Match your appearance
-
Not include sunglasses or filters
3. Recent Digital Photo to Upload
College Board requires a photo that:
-
Shows your face clearly
-
Has a plain background
-
Is JPEG, JPG, or PNG
-
Is between 480×600 and 960×1200 pixels
4. Payment Method
SAT fees (as of 2025):
-
SAT Registration Fee: $60
-
Additional regional or domestic fees may apply
Payment accepted:
-
Debit/credit card
-
PayPal
-
Fee waiver (if eligible)
5. Decide on Test Date & Location
Consider:
-
College deadlines
-
Scholarship timelines
-
Availability of nearby testing centers
Early fall dates get booked fastest, especially in major cities like NYC, Chicago, Los Angeles, Dallas, and Atlanta.
⭐ How to Register for SAT Online — Step-by-Step Guide
Below is a fully detailed step-by-step process to help you register for SAT without confusion.
Step 1: Visit the College Board Website
Go to:
https://mysat.collegeboard.org
Click “Register for SAT” to begin.
If you don’t have an account:
-
Click “Create Account”
-
Enter your legal name, email, birthday, and high school details
Important:
Use your real name exactly as it appears on your ID.
Step 2: Start a New SAT Registration
Once logged in, you will see a dashboard with SAT options. Click:
“Register for the SAT”
This opens the official SAT registration workflow.
Step 3: Enter Personal Information
You will fill out:
-
Legal name
-
Date of birth
-
Address
-
High school information
-
Expected graduation year
Make sure everything matches your school records and ID.
Tip:
Incorrect names or birthdays can prevent you from entering the test center.
Step 4: Answer Optional Student Profile Questions
College Board may ask questions about:
-
GPA
-
Courses taken
-
Intended major
-
Career interests
These questions are optional and mainly used for college recommendations.
You can skip them without affecting your exam.
Step 5: Choose Your SAT Test Date
SAT is offered several times a year in the USA, usually:
-
March
-
May
-
June
-
August
-
October
-
November
-
December
When selecting a date:
-
Check your college application deadlines
-
Choose a date that gives enough time for preparation
-
Avoid scheduling during AP exams or school finals
Step 6: Choose the Testing Center
You can search test centers by:
-
ZIP code
-
City
-
State
Consider:
-
Distance
-
Parking availability
-
Seating capacity
-
Whether the center gets full quickly
Large U.S. school districts fill up fast.
If seats near you are unavailable, expand your ZIP code radius.
Step 7: Upload Your Photo
Upload a high-quality, ID-matching photo.
Common errors to avoid:
❌ Cropped head
❌ Side-angle photo
❌ Filters
❌ Selfies with poor lighting
Your photo must match your appearance on test day.
Step 8: Pay the Registration Fee
You can pay using:
-
Debit/credit card
-
PayPal
-
SAT Fee Waiver
If you are eligible for a fee waiver (low-income U.S. students), your school counselor can provide one. Fee waiver benefits include:
-
Free SAT registration
-
Free score reports
-
Two free CSS Profile submissions
-
College application fee waivers at participating colleges
Step 9: Confirm and Submit
Review your details:
-
Name
-
Test date
-
Location
-
Photo
Click “Confirm and Register”.
Your SAT Admission Ticket will be generated.
Step 10: Print Your Admission Ticket
You must bring a printed ticket to the test center.
Save a digital copy on your phone as backup, but the printed ticket is required.
SAT Registration Fees (USA 2025)
| Item | Fee |
|---|---|
| SAT Exam | $60 |
| Late Registration | Varies by date |
| Test Center Change | $25 |
| Test Date Change | $25 |
| Score Verification Services | Additional |
SAT Fee Waiver Eligibility (USA Only)
You may qualify if:
-
You participate in free/reduced lunch program
-
Your family income meets USDA thresholds
-
You are in foster care or homeless
-
You receive public assistance
Ask your school counselor for a fee waiver code before you register.
📝 Common Mistakes to Avoid When You Register for SAT
-
Using a nickname instead of a full legal name
-
Uploading poor-quality or filtered photos
-
Choosing a test center too far away
-
Missing the registration deadline
-
Not printing the admission ticket
-
Entering incorrect date of birth
-
Not checking ID validity before test day
Avoiding these simple mistakes can prevent you from being turned away.
🎓 After You Register for SAT — What’s Next?
1. Prepare for Digital SAT Format
The SAT is now fully digital in the USA.
You will take it using a laptop or school-provided device.
2. Install Bluebook App
Before test day, download:
➡ Bluebook app (official SAT testing app)
3. Complete Device Check
College Board requires the Bluebook “device check” before test day.
4. Gather Test-Day Essentials
Bring:
-
Printed Admission Ticket
-
Valid ID
-
Fully charged laptop/tablet
-
Charger
-
No. 2 pencils for notes
-
Small water bottle
🕒 When to Register for SAT (Best Timing for USA Students)
For 11th Graders
Best time:
-
March
-
May
-
August
For 12th Graders
Best time:
-
August
-
October
These dates align with college admissions timelines.
📊 How Many Times Should You Take the SAT?
Most U.S. students take the SAT 2–3 times, improving their score each attempt.
⭐ Final Thoughts: Register for SAT the Right Way
Registering for SAT online is simple once you understand the steps. The key is to register early, select a comfortable test center, upload a valid photo, and keep your admission ticket ready.
By following this guide, U.S. students can complete their registration without stress and focus fully on preparing for the Digital SAT.
If you need help with study plans, SAT prep guides, or score improvement strategies—I can create those too!